Mini Red Velvet Cheesecake (video)

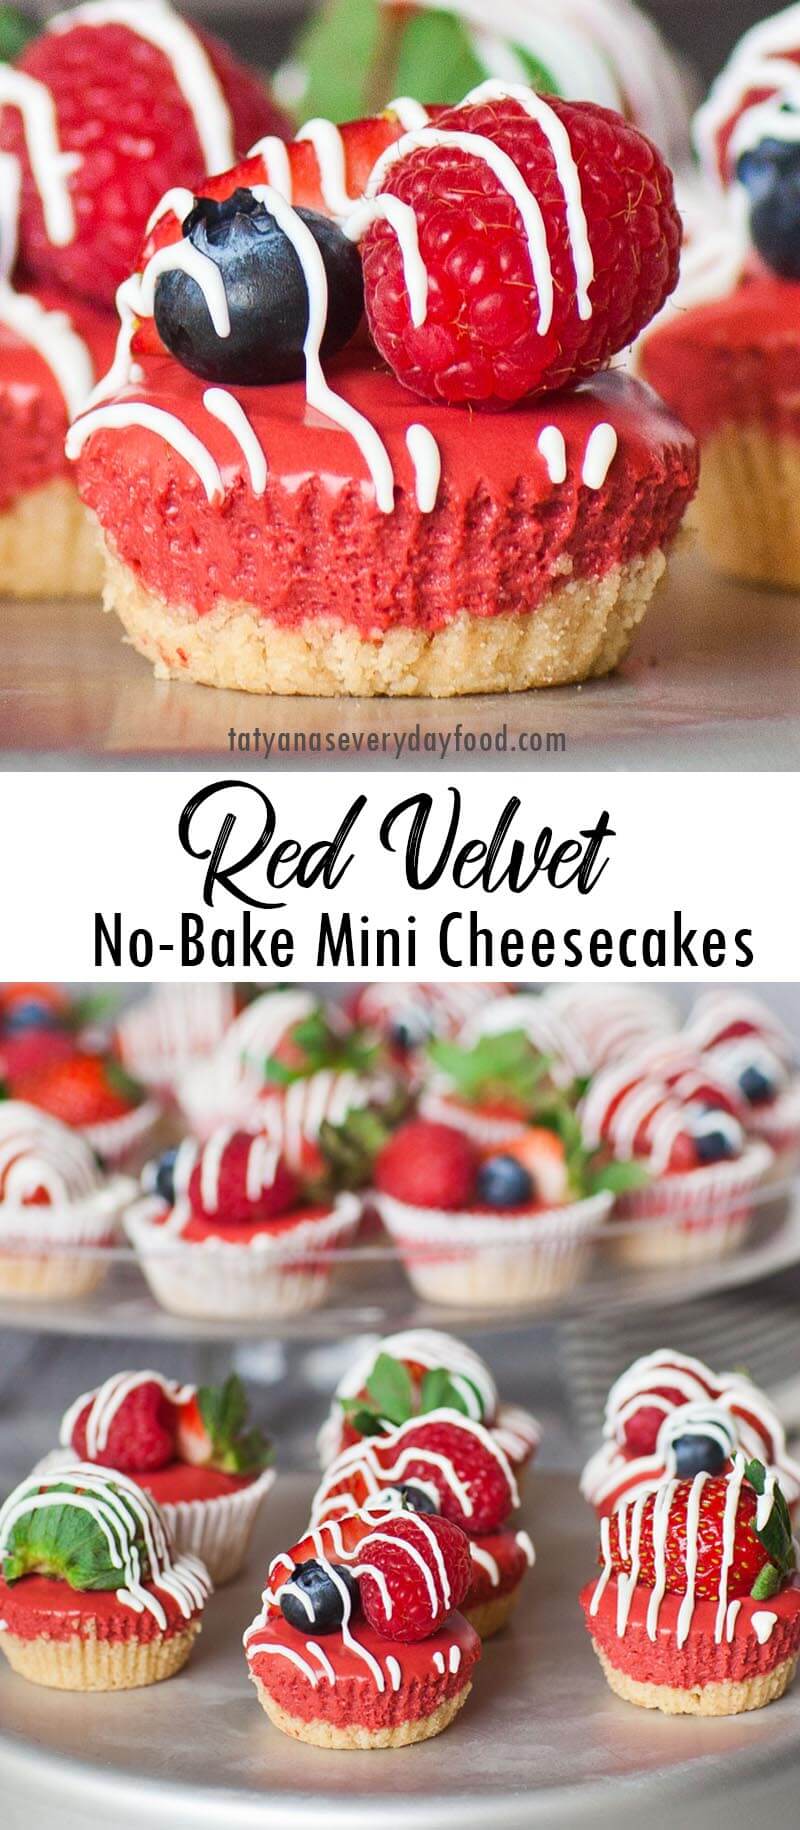
How adorable are these little mini cheesecake desserts?! Red velvet cheesecake never looked so tempting! I love everything about this no-bake version of the classic red velvet cake in mini form. These are not only fun to make but they’re also fun to eat! Garnish the top of the cheesecake with melted white chocolate and berries for the ultimate finishing touch! I LOVE serving mini desserts like this, especially for parties where people can grab a bite to enjoy any time.
Watch My Video!
Watch my video recipe for all the details and step-by-step instructions! Want to receive new recipe emails in your inbox? Make sure to subscribe to my website and my YouTube channel and turn on notifications!
Golden Oreo Cookie Crust
These no-bake cheesecakes start with a Golden Oreo crust but you can also use chocolate oreos if you want more chocolate flavor. To ensure the crust is firmly pressed, try using the bottom of a shot glass to press the crumbs firmly into place. The crust on these can be a bit crumbly. If you want a firmer crust, preheat the oven to 350F and bake the cheesecake crust for 10 minutes, then let it cool before adding the filling.

How to Make Red Velvet Mini Cheesecakes
The no-bake red velvet cheesecake filling is equally easy to make! It’s a simple combination of cream cheese, sour cream and sweetened condensed milk. I add little bit of gelatin to help the cheesecake filling set. Fill each mini cheesecake to the top with the red velvet mixture. Top them with small pieces of fruit or berries for extra garnish! Let the cheesecakes set in the refrigerator for a few hours, until the filling is completely set. If desired, drizzle the tops with melted white chocolate!
Red velvet cheesecake is one sweet and beautiful way to profess your love to that someone special. But don’t wait until Valentine’s Day to enjoy this treat! These mini cheesecakes are great year-round, especially for Christmas!

More Recipes!
Enjoyed this red velvet cheesecake recipe? Check out some of my other recipes you’re sure to enjoy!
- Salted Caramel Mini Cheesecakes – another great recipe for mini cheesecakes, this one with caramel sauce!
- Red Velvet Brownie Cheesecake – rich and decadent red velvet cheesecake with a chocolate brownie crust!
- Red Velvet Strawberry Cheesecake – made with red velvet chocolate cheesecake, strawberry mousse and whipped cream!
- Classic Red Velvet Cake – delicate cake layers with creamy cream cheese frosting!
Share it on Pinterest!
Supplies/Tools
Need some supplies to make this recipe? You can get them here (Amazon affiliate links):
- My classic KitchenAid stand mixer is a must for every kitchen!
- I love my classic CuisinArt food processor – simple and powerful!
- And here’s the same mini cupcake pan that I have – great for mini cupcakes and cheesecakes!

Mini Red Velvet Cheesecake (video)
Ingredients
- 12 Golden Oreos or similar cookies
- 1/4 cup butter, melted
- 16 ounce cream cheese, softened at room temperature
- 1/3 cup sour cream
- 1/3 cup white chocolate, melted
- 1/2 cup sweetened condensed milk
- 1 tablespoon cocoa powder
- red food coloring
- 1 tablespoon unflavored gelatine powder
- 2 to 3 tablespoons water
- 2 cups fresh berries, for garnish
- 1/4 cup white chocolate chips, melted, for garnish
Instructions
- Line a mini cupcake pan with liners; this recipe will make about 36 mini cheesecakes.
- Prepare the crust first. Place the Oreo cookies into a food processor and pulse until fine crumbs form. Add the melted butter to the crumbs and pulse again until the crumbs are well coated. Measure out a heaping teaspoon into each liner and using the back of a round teaspoon, press the crumbs firmly into the bottom of each liner. Create an even and firm crust. Set pan aside.
- Prepare the cheesecake filling. Place the softened cream cheese into a stand mixer bowl. Beat on medium-high speed for 8 to 10 minutes, scraping sides of bowl often, until cream cheese is creamy. Add the sour cream, melted white chocolate and sweetened condensed milk. Beat again for another 5 minutes, scraping down sides of bowl to mix all the ingredients together. Add the cocoa powder and red food coloring. I used gel food coloring because it is more concentrated and I highly recommend using this type.
- Prepare the gelatin. Pour 2 tablespoons of boiling water over the gelatin in a small bowl. Stir to combine, then microwave the gelatin for 1 minute, stirring every 10 seconds until the gelatin is dissolved and smooth. If needed, add an additional tablespoon of water.
- Temper the gelatin and cheesecake filling: add about 1 cup of the filling to the dissolved gelatin and whisk together until smooth. Then add the tempered gelatin to the rest of the filling and beat on high speed until well combined.
- Using a scoop, fill each liner to the top with the prepared filling. Set the tray into the refrigerator and let the cheesecakes set for 4 to 6 hours, or overnight.
- Once cheesecakes are set, garnish them with fresh berries, drizzle with melted white chocolate or use a garnish of your choosing. Keep cheesecakes refrigerated at all times, except when serving.


Can I use agar instead of gelatin?
Yes! Agar should also work in this recipe. Just make sure it’s dissolved 🙂
im gonna try to do this yummy recipes…
i love cheesecake?
thank u tatiana.
im gonna try to do this yummy recipes…
i love cheesecake?
thank u tatiana.
Just made these, just because :)) and they are so smooth and yummy!! Best part- no bakeing involved!! Thank you for the awesome treat!!
Thank you so much…..This is an amazing recipe…. how can I upload my cake followed by your recipe? Big thank again <3
You can share it with me on my Facebook page or instagram account. Just look for Tatyana’s Everyday Food